While the custom canopy tents at Everest Prints are all about durability, lightweight portability, and ease of access, our customers appreciate how easy it is to assemble and disassemble our canopy tents.
If you are one of the people who dislike reading instruction manuals, this guide will familiarize you with simple DIY tips of putting together, taking down, and storing your new customized canopy tent.
Pre-Assembly Tips
Custom Canopy tents are designed for business events and branding, so you will want to find a large enough space for assembly. You should also check for possible weather patterns so that you will know if you need to buy accessories as they may be required during the assembly process to ensure that it goes smoothly.
You also will want to take time to think about the positioning of your canopy tent. Make sure you check with event organizers to understand the flow of traffic and expected weather patterns. If there is a potential for inclement weather, order side walling to block intense strong winds, rain, and sun.
Most canopy tent users use them outdoors, so you will want to clean the area completely. Remove small rocks and debris from the ground to ensure the tent legs rest properly on solid, even ground. You will also want to check for low overhanging limbs to prevent them from calling only the canopy.
Lastly, you will want to purchase weights, ropes, and pegs to properly secure the frame to the ground. Now, you are ready for your custom canopy tent’s assembly. While you can do it alone, we highly advise having two people perform these tasks to make it easier to complete the following steps.
Assembling Custom Canopy Tents
There are only two primary pieces you need to know about during assembly: the aluminum frame poles and a triangular canopy. The poles connect at each corner to the canopy frame and are secured with Velcro. Users also purchase weights, ropes, and pegs to counter adverse weather conditions.
Canopies are made with 600D (Denier) polyester, which is waterproof and UV resistant. Denier simply is the yarn count, so 600D polyester means you have a durable and quality made canopy.
As the frame is made of aluminum and has a pop-up design, you won’t have to worry about difficult-to-do instructions. Each leg of the frame extends upward and safely locks into place.
Assembly is so straightforward that you can assemble and disassemble your custom canopy tent in five minutes due to its single-assembly construction method. You also won’t need expensive tools.
5-Step Assembly Instructions
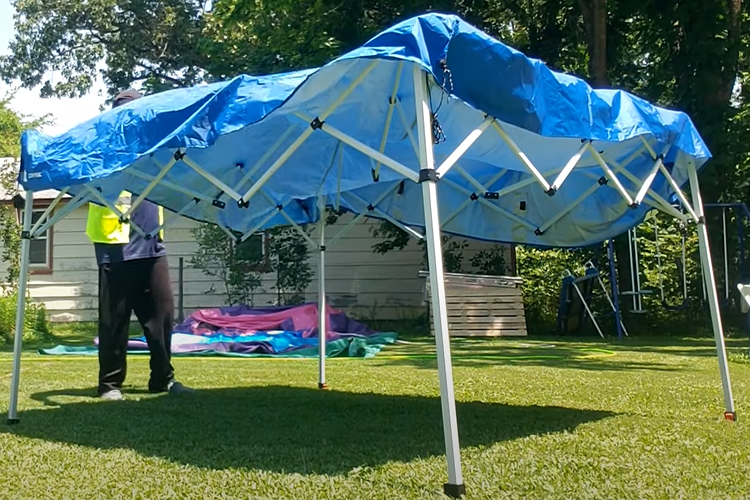
Assemble the pop-up frame first as that is the base of the canopy tent’s structure:
With a person standing on opposite sides, carefully expand the frame outward until it reaches its full width. Add any accessories such as side walls to the legs. Next, place the canvas cover over the frame while still in a lower position. Secure the legs to the canopy with Velcro tabs.
Next, you will need to adjust the height of your canopy frame. Gently slide the pole legs up until it reaches the desired height until you hear the click of the pole’s locking mechanisms.
Secure the frame to the ground with anchor lines and weights to prevent mobility and lessen the likelihood of weather-related damage. The deeper the stake, the greater its sturdiness.
Tip: When staking tents in residential areas, call the local utilities to check for buried cables.
Adjusting the Height of a Canopy Tent During Assembly
Canopy tents have extendable legs that allow you to adjust the height accordingly. The standard 10x10 canopy tent reaches a maximum height of between 100 and 115 inches. This height provides a solid and sturdy strong framework that maximizes its safety and security.
So, what can you do if you want to make it higher? You can use flat surface objects such as wood blocks or bricks to increase the height. Make sure they are equal in size and weight so that it creates a secure tent base. If you choose to raise it too much, it may become unstable.
Disassembling Custom Canopy Tents
The disassembly process is very important as it secures the pieces and safeguards them for future use.
To disassemble your custom canopy tent, simply remove any objects from under or on your canopy tent or frame. Unfasten the velcro attachments and click the locking mechanisms to release the legs.
Carefully collapse the frame to its lowest position. Then, push the custom canopy tent frame inward until it is in its original compacted position. Lastly, secure the frame and canopy in its carry bag for safekeeping and store it. You can remove the canopy or leave it attached, but we recommend removing it so that it can be folded and safely stored separately from the frame’s aluminum legs.
Tip: While you may assemble and disassemble alone, we highly recommend that two people stand opposite one another to perform these tasks and ensure proper assembly and disassembly occurs.
Assembly and Disassembly Tips
Now that you know how to assemble and disassemble your tent, here are a few useful tips that you will want to learn to ensure you get the most out of your Everest Prints customized canopy tents.
Commercial Canopy Tent Assembly
Correctly assembling and positioning a customized canopy tent indoors or outdoors has much to do with logistics and ease of access. Make sure that you speak with your event organizer to verify your positioning and how the flow of traffic will work. This will allow you to assemble your tent with the entryway facing potential attendees. It will also let you know how to set up your tent to maximize its spacing. You can also add side walling to boost s marketing goals.
Assembling a Canopy Tent on a Beach
Canopy tents are popular with beachgoers as they create a comfortable, cool area to rest. When scouting beach assembly locations, pay attention to the direction of the sun and wind. During the assembly, you’ll want to add side walling to block out excessive water and wind.
You will also want to add sandbag weights and sand stakes to further secure your tent. To counter wind gusts, secure the frame with at least two 200 pounds for 10x10 feet canopy tents and 370 pounds for 10x20 feet tents. If the sand is inadequate for anchoring your canopy tent, you can use above-ground water or metal weight to provide sound anchoring.
Leaving a Tent Up All Summer
While you can leave a canopy tent up all summer or create a permanent structure, we recommend assembling and disassembling it with each use to ensure your tent reaches its full life expectancy of about ten years or 25,000 uses. While the aluminum frame will not corrode or weaken over time, the canopy’s exposure to airborne objects presents a higher risk of sustaining major damage.
High winds and intense heat over an extended period will also leave an exposed canopy ripped and frayed. The coloring will also lighten over time due to extended periods of UV ray exposure. This will eventually cause damage to occur that will require a canopy to be repaired or replaced.
Connecting Canopy Tents
During the assembly process, you may want to connect your canopy tents to maximize spacing and make mobility easier for guests. You can either attach a tarp or a gutter system using velcro tabs or rope. This will secure the area and create a walkway between the units.
Using a Canopy Tent In Heavy Winds
Heavy winds are likely to occur when using a canopy tent outdoors. The tents sold at Everest Prints are made of heavy-duty aluminum that is thicker and stronger than other models made of thinner-legged steel, which will hold up well in winds of thirty-five miles per hour.
Tip: To secure your tent during windy weather, place additional weights on each frame leg and remove any side walling to allow any gusts of winds to blow through
Assembly Techniques to Stop Water from Pooling on a Canopy
Pooling rain can quickly turn into a serious safety hazard which is why your Everest Prints canopy tent is designed to prevent sagging, leaking, and pooling due to its construction using 600D polyester material. If you experience any of the following issues, follow these steps.
During moments of heavier rain patterns, there is a potential for water to collect and pool in sloping areas. You should prevent this from happening due to the potential of the tent collapsing under the added weight. It also increases the risk of rips and tears occurring.
To prevent this, ensure the frame is extended to its full capacity and the canopy is snugly connected to the frame. This step will minimize any loose spacing of the polyester canopy.
Tip: If you plan on using multiple canopy tents during an event where rain is forecasted, attach tent gutters to prevent pooling. Gutters also reroute rain safely away from the tent.
These assembly and disassembly instructions are designed to answer any potential questions that customers might have. Now that you are an expert on custom canopy tents, take a few minutes to make your next tent purchase so that our experts at Everest Prints can get to work customizing it. To find out more about the customized event grahics products at Everest Prints or to learn about our customization process, visit our website or contact us by email, live chat, or telephone.
